ROCKR TRAINER SETUP
-FOR AXIS DIRECTIONS SCROLL DOWN
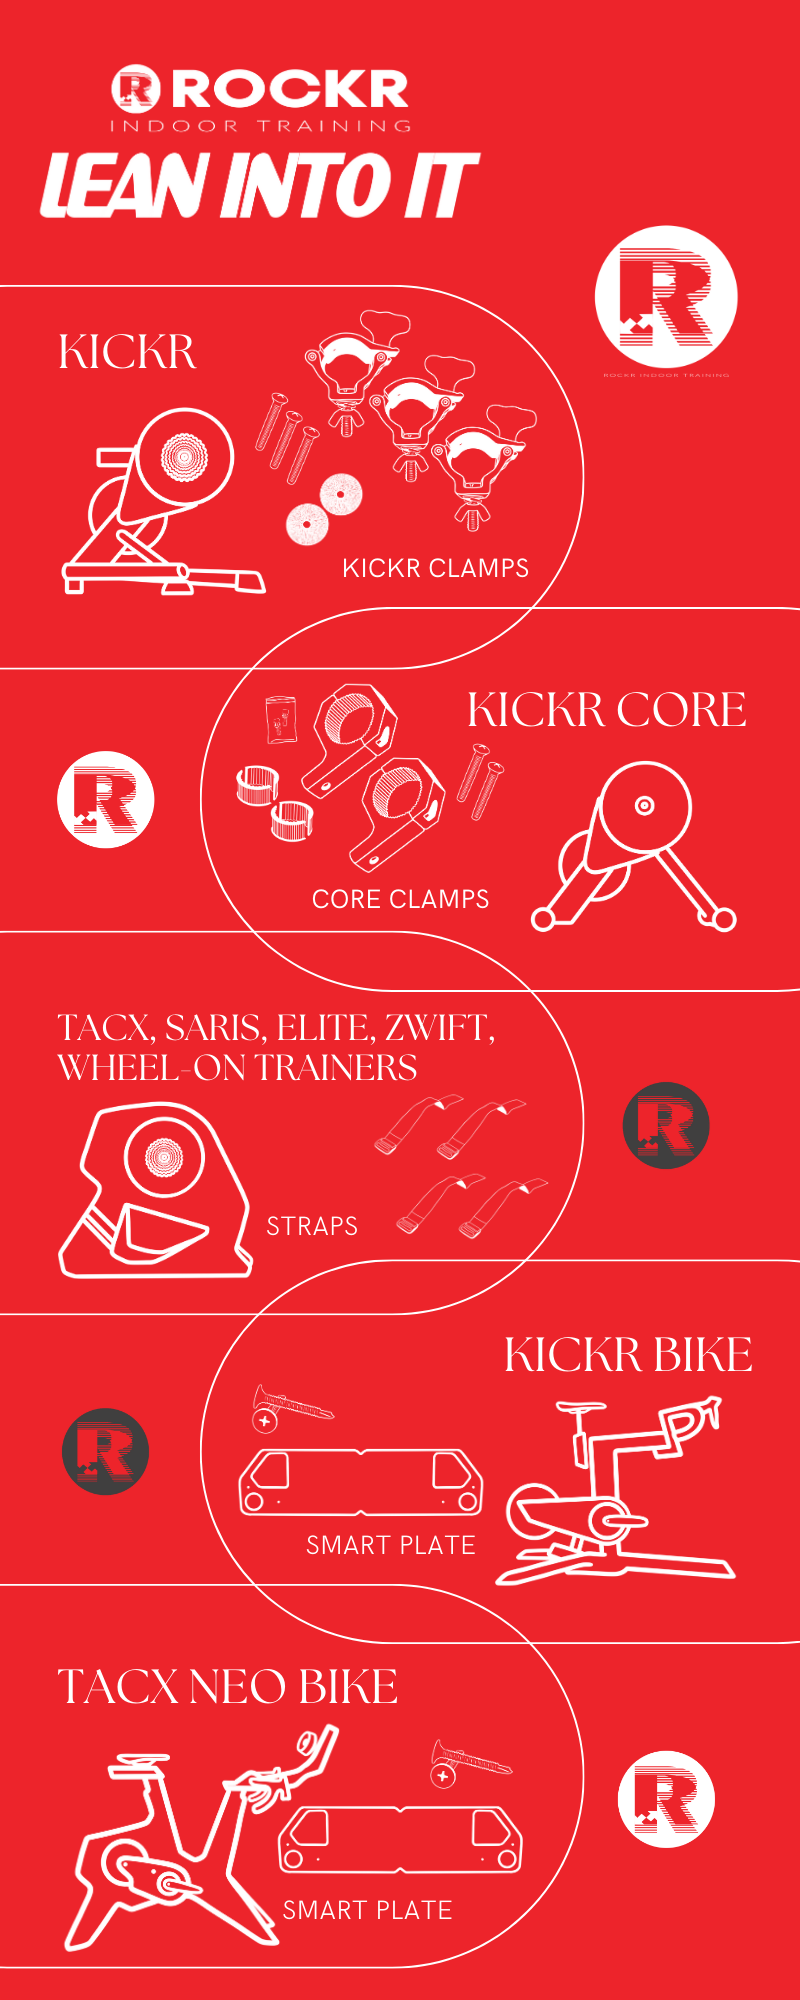
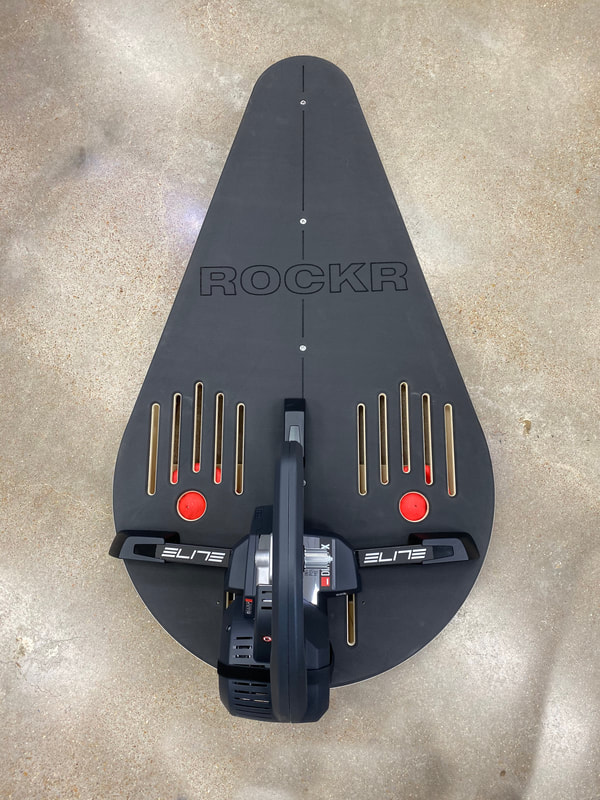
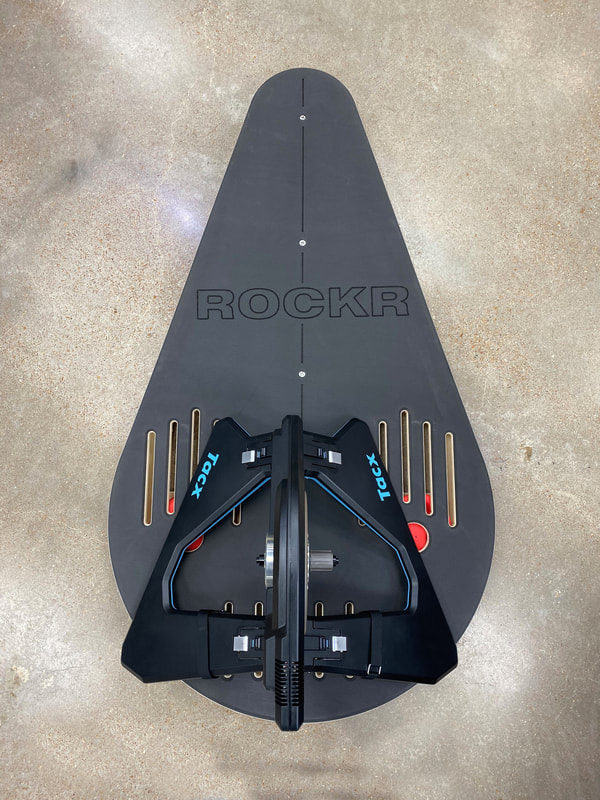
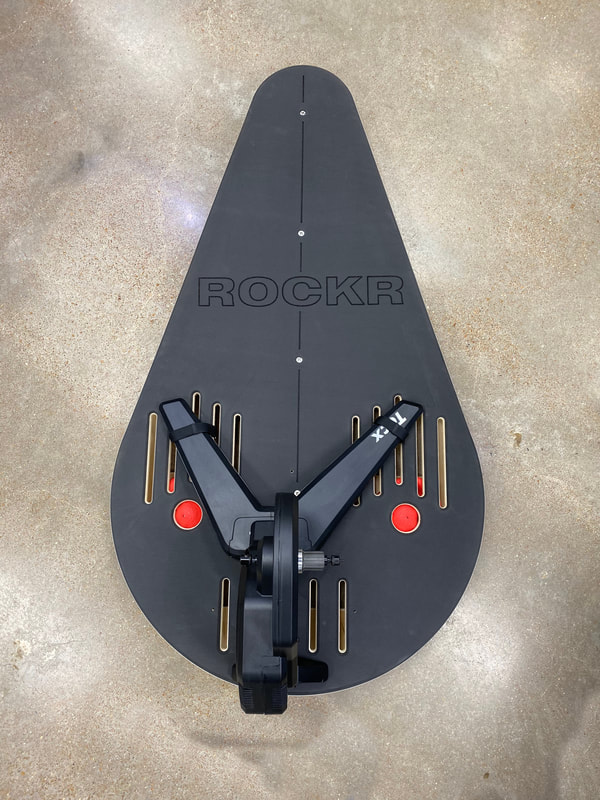
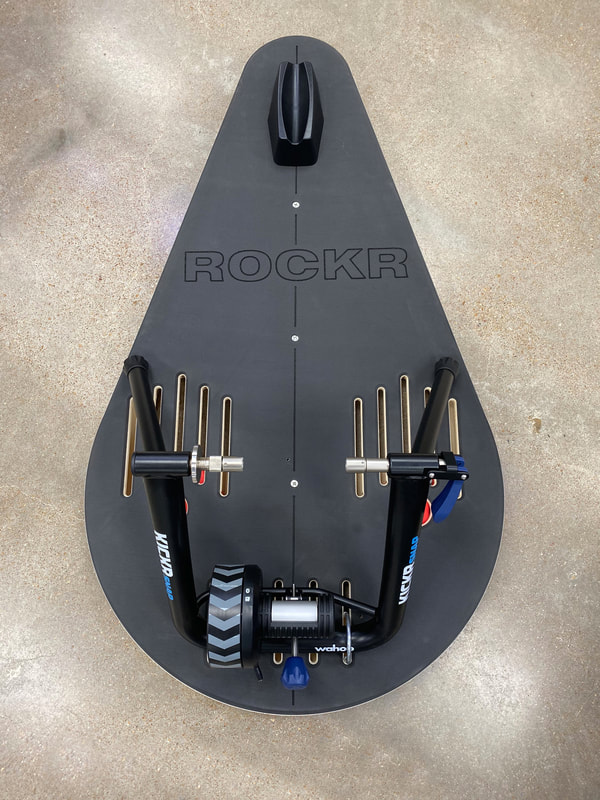
Click the trainer below for more photos and instructions to setup your trainer.
*all ROCKR products (AXIS, PRO and Lite) have the same mounting hardware and attachment setup*
ROCKR AXIS SETUP
|
|
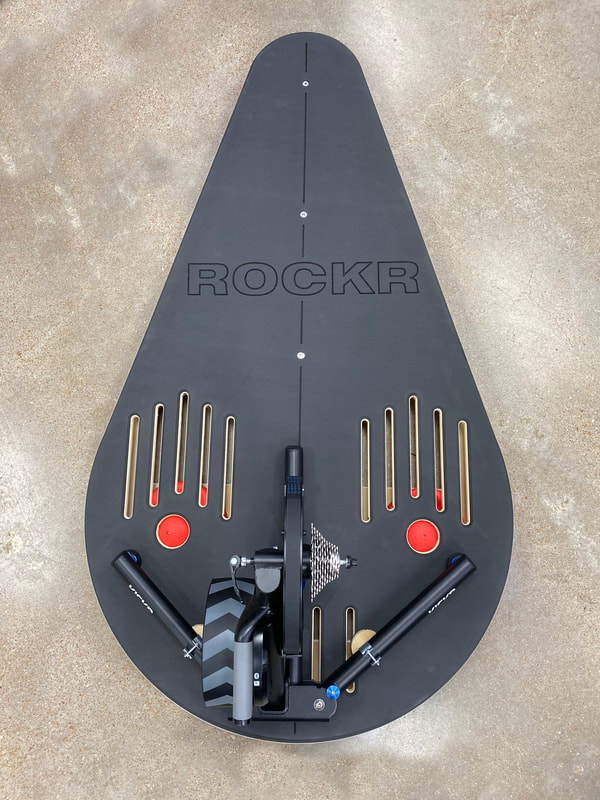
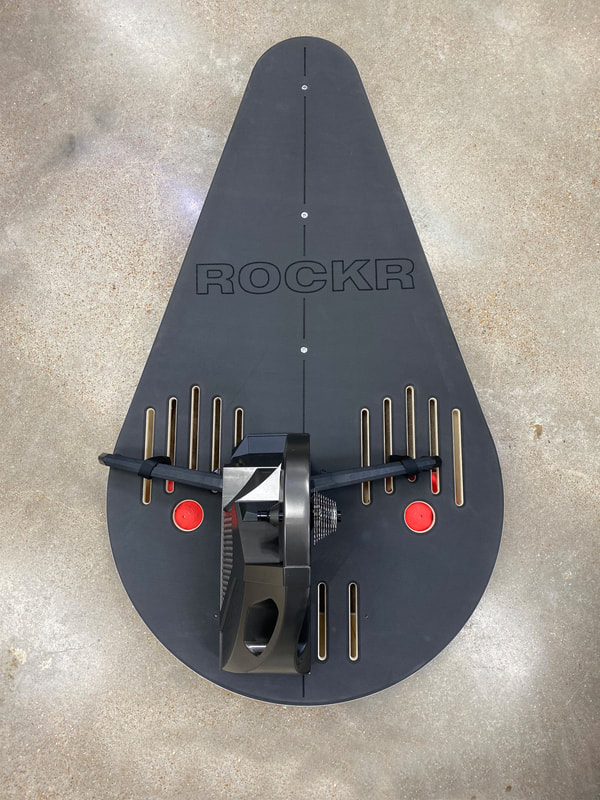
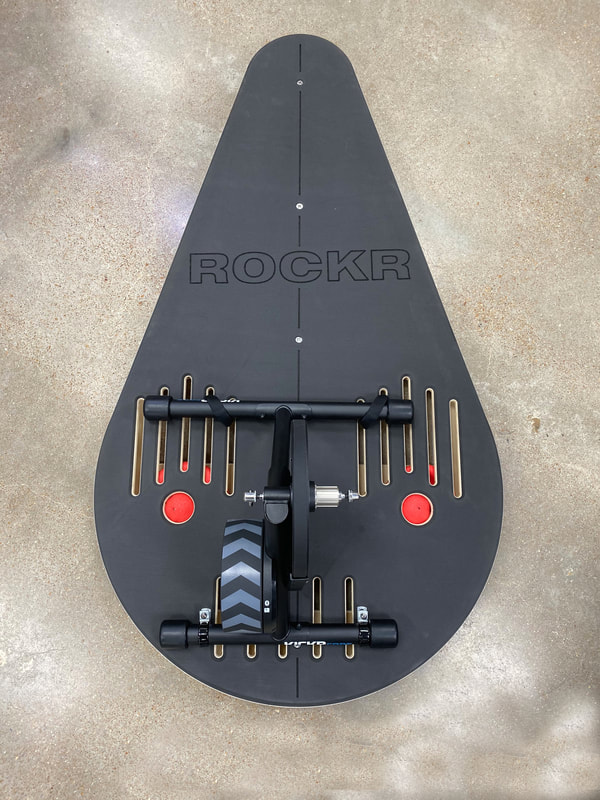
Attaching Your Trainer
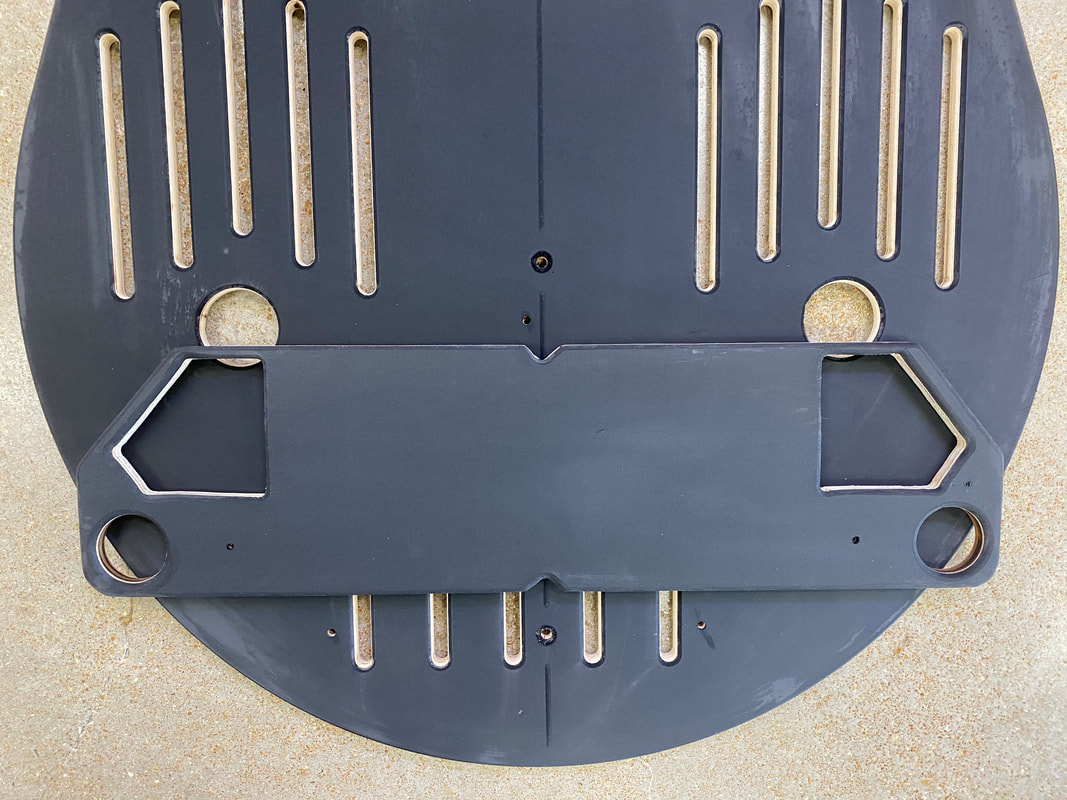
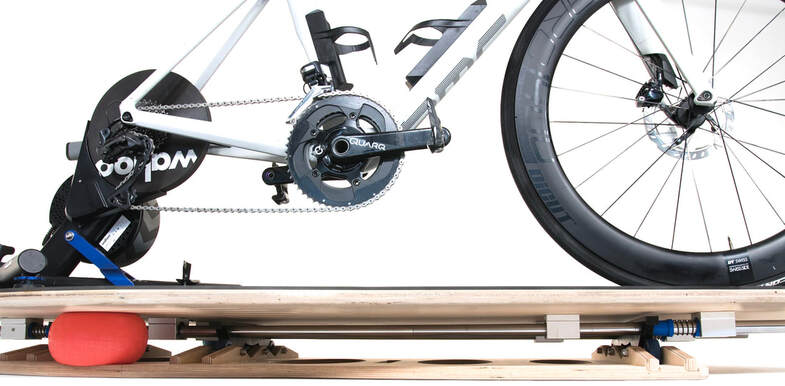
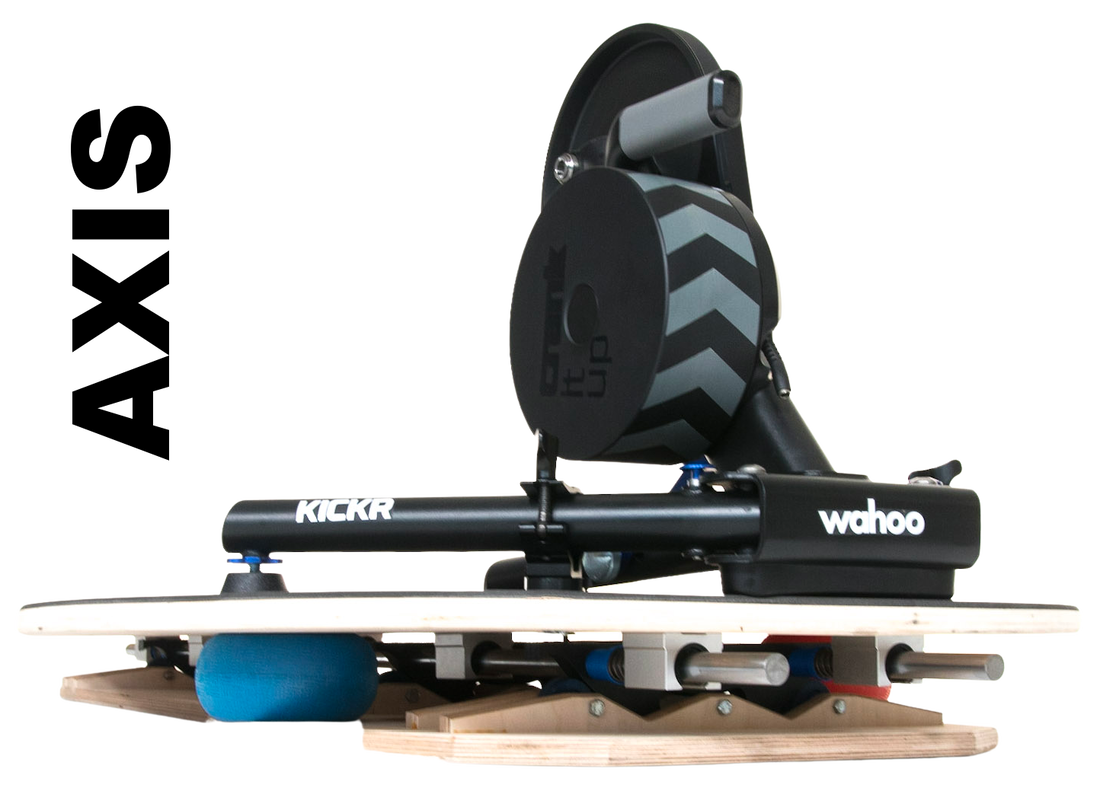
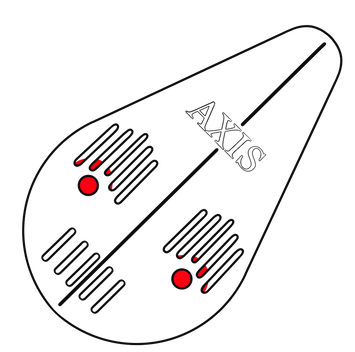
Looking at your ROCKR AXIS you’ll find the same attachment slots and hidden anchors as on our ROCKR PRO, and in your parts box will be the matched attachments for your specific trainer. For step by step instructions on each trainer attachment, scroll back up :). The biggest note here while attaching your trainer is really to make sure you line up your bike, and not your trainer, to the center of the top board. Getting On & Off Your AXIS There are a few different ways to get on your bike after it’s locked on your AXIS. The simplest and easiest is to step on one side of the top board, allow the board to lean towards you, and then swing your leg over your saddle. This makes it very easy to re-center the lean of the top board first, before clipping in. Setting your Suspension Now that you’re clipped in, let’s talk suspension.Remember less is more when it comes to air pressure! Tohelp orient yourself, find balance and give a good lean tothe left, and now back to center, and then a good lean to the right, and now back to center. You should be able to fully recenter yourself from each side without too much work. If you feel like you’re fighting on one side to get back to center, then add more air pressure to that side’s suspension or release some pressure from the opposite side. Repeat until you’re able to recenter yourself for both sides. We find that appropriate air pressure is visually when each suspension ball is fully inflated, with just a little bit of stretch. You’ve probably put too much air in the suspension balls if they are difficult to remove or have significantly increased their size. Overinflation may cause balls to tear at the seam or the boards to warp. However, it is totally normal to need a little more air pressure in the left suspension ball, as most smart trainers use a 6-12 pound flywheel that is offset to the left. Pro Tip: With a heavy flywheel trainer use a counterweight on the right side to allow even pressure in both suspension balls. We’ve found that as little as 4 pounds set to the very right side of the top board can make a huge difference! AXIS Technology Movement Alright, your suspension is set, let’s start riding. We think it helps first time movers to explore the range of movement while seated first, before standing. Push forward and back, feel that movement. Lean side to side, feel that movement. Still feel balanced now that you’re actually riding? Great. If not, add or release a little air pressure. Now let’s start standing out of the saddle. Gear down, and let’s go. Remember that even with the new AXIS technology, there is still a bit of a learning curve. This means it may take a little practice to get it perfect! We hope you enjoy your new indoor training platform as much as we enjoyed creating it. We’re a small company of passionate cyclists who are always striving to improve the way we ride and hope it inspires others to ride more as well. Our goal is to continue to be the pioneers in the indoor training platform world, while offering the absolute best customer service. Feel free to reach out anytime with questions, compliments, concerns, or just to send us a picture of your sweet new pain cave! |

