
*KICKR V5 (w/ AXIS Feet) - The AXIS Feet must be removed before attaching to the ROCKR.
|

|

|
WHAT'S INCLUDED:
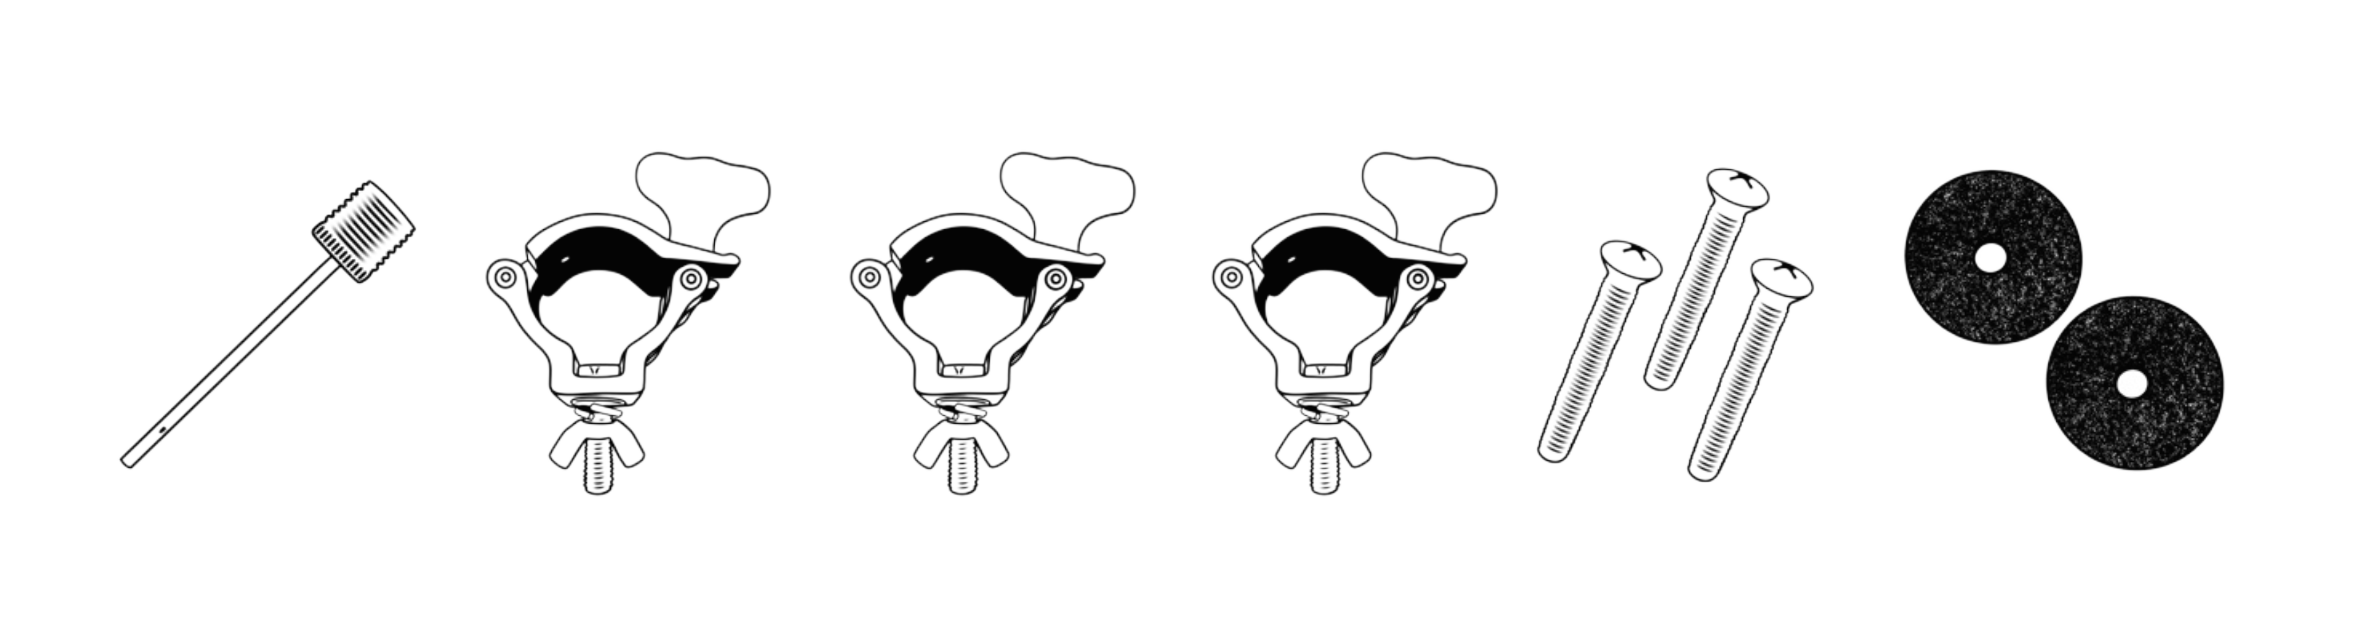
ROCKR board with two balls already inserted 1 extra 7” suspension ball (for rockr pro) 1 extra 5” suspension ball (for rockr axis) 1 needle fitting 3 kickr specific clamps 3 attachment bolts 2 round discs KICKR SETUP:
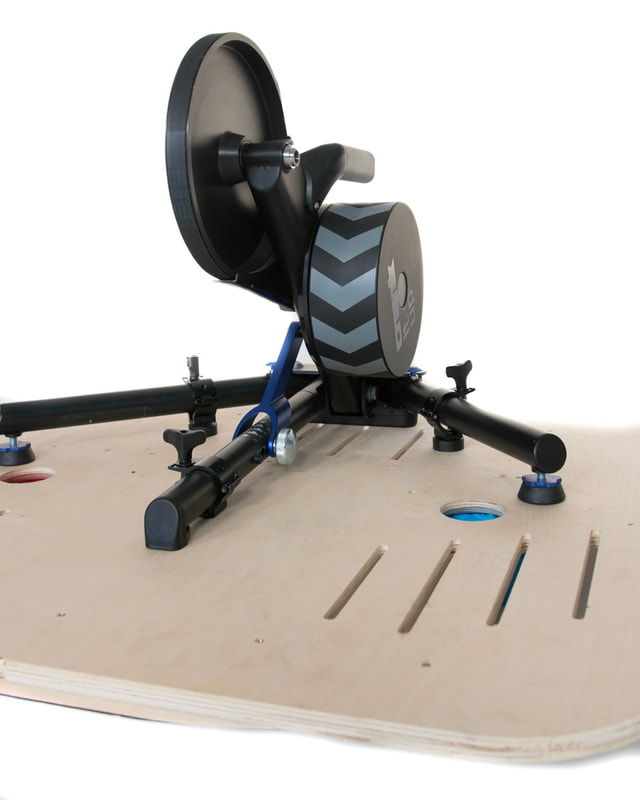
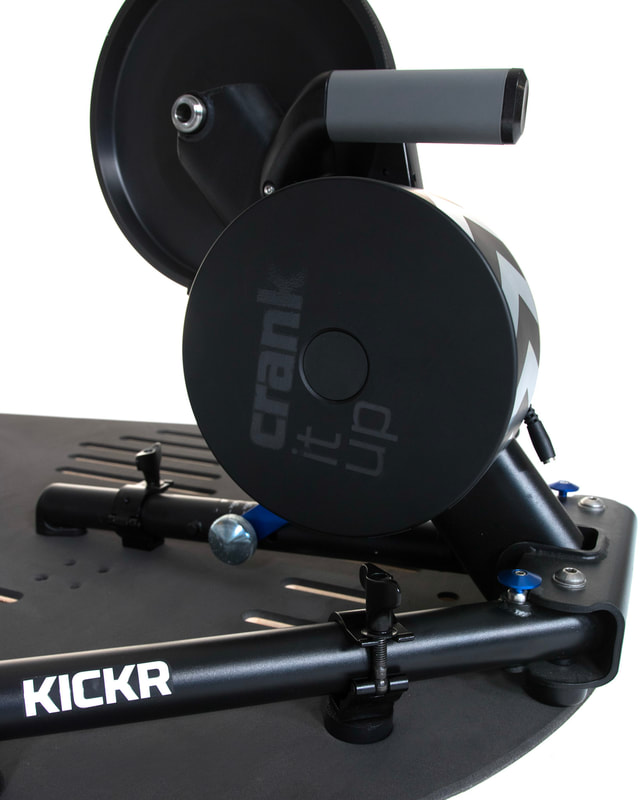
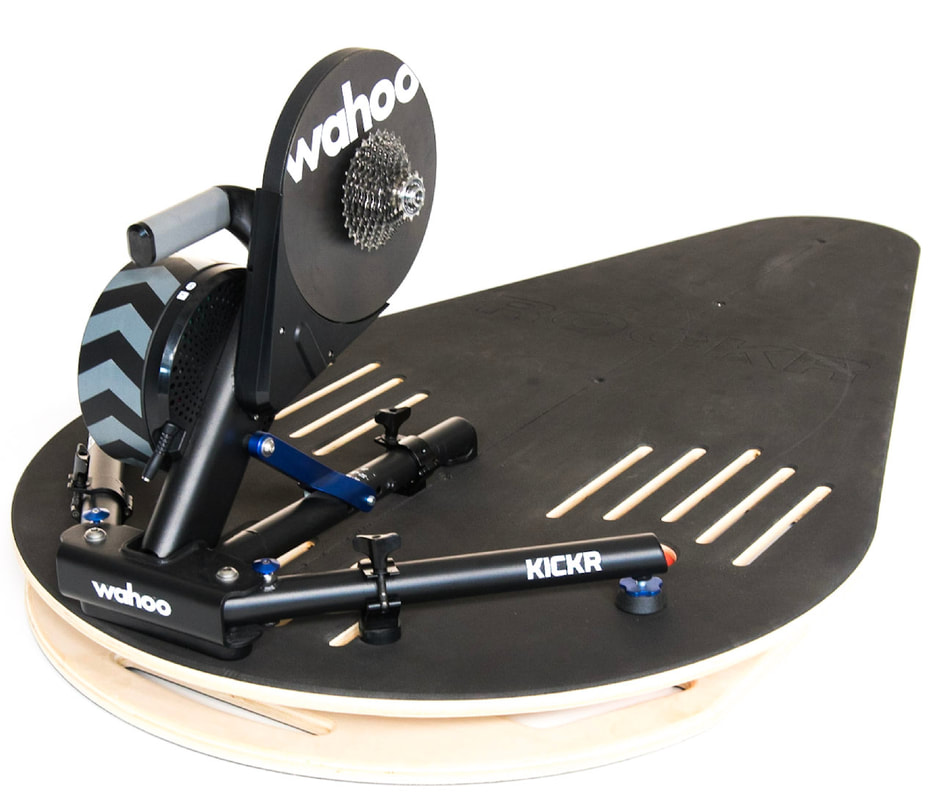
1. Remove your ROCKR from its shipping box. 2. Open up your Parts Box that includes the following items:
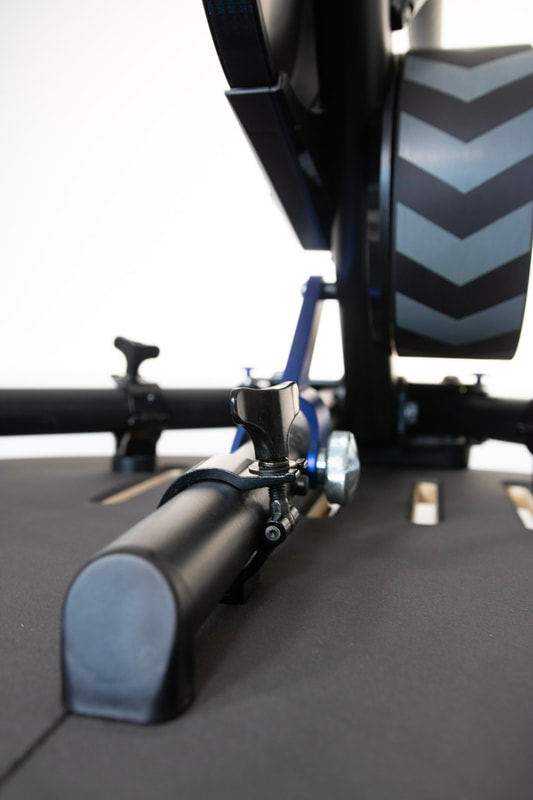
4. Screw in one of the hangers with one of the provided bolts into the front center hole. 5. Screw each of the remaining hangers with the provided bolts into each of the lateral holes on either side of the back slots with the provided Riser Discs slotted under each of the clamps. 6. Position your Wahoo Fitness KICKR onto the back of the board such that each leg positions itself inside a clamp. The KICKR is positioned correctly when the front/center leg of the KICKR runs parallel & slightly left offset to the centerline of the ROCKR. 7. Attach your bicycle to your KICKR and hop on! 8. Air pressure should not exceed 4 psi and we recommend as little air as possible while providing comfort and stability. Over-inflation may cause balls to tear at the seam or the boards to warp. 9. Enjoy your new ROCKR and tag @rockrindoortraining on Instagram when you post a photo! |
