

|
|

|
WHAT'S INCLUDED:
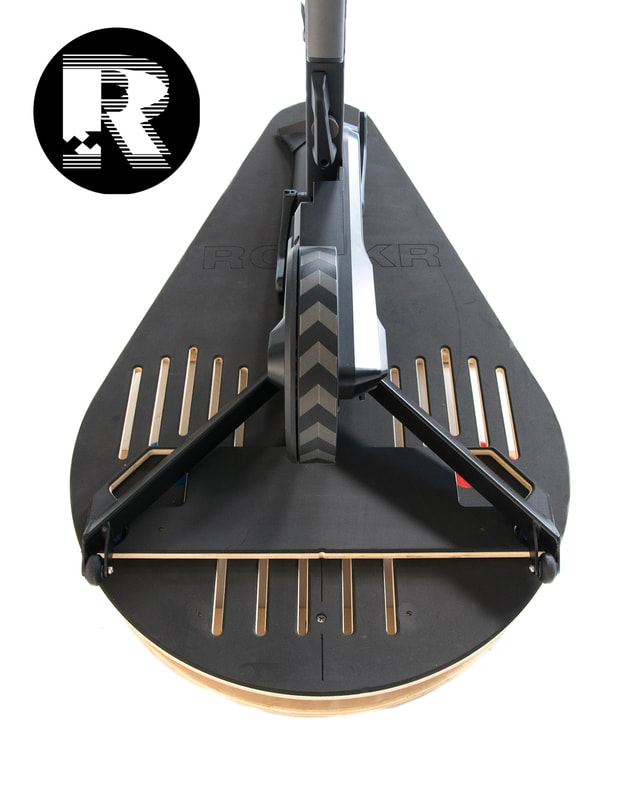
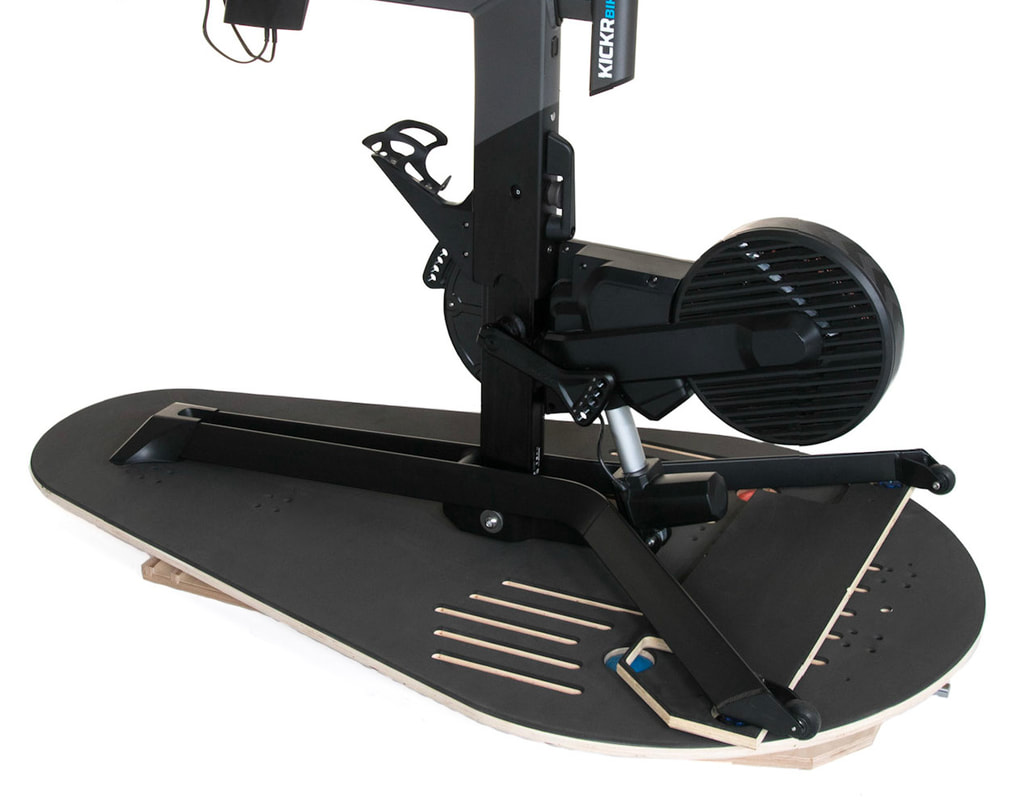
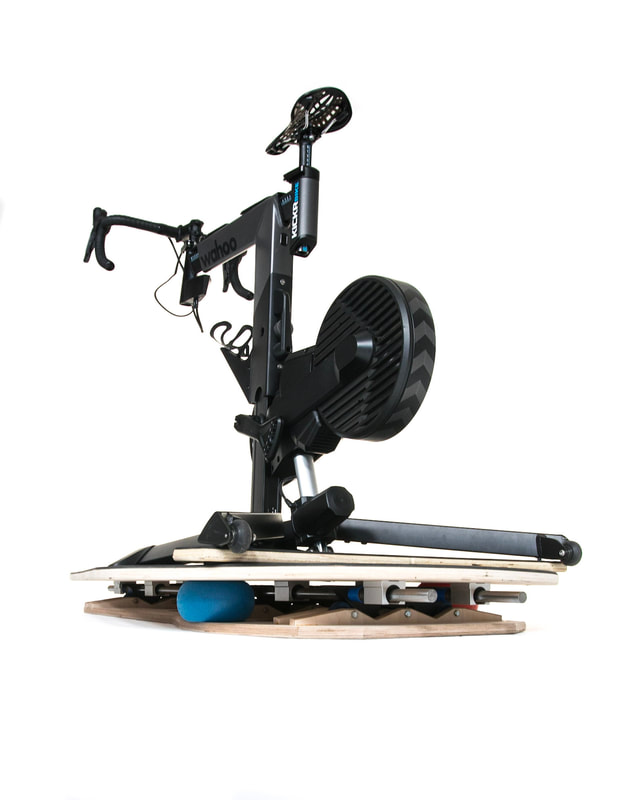
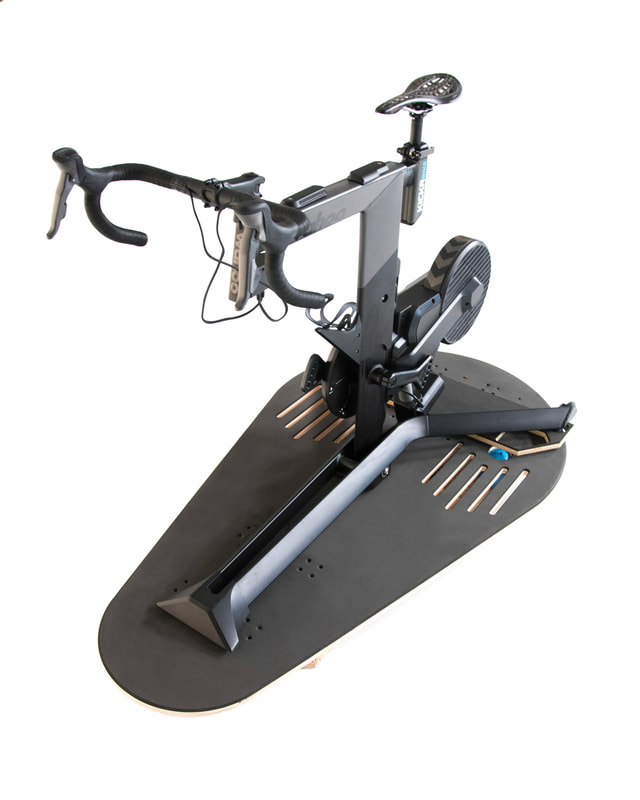
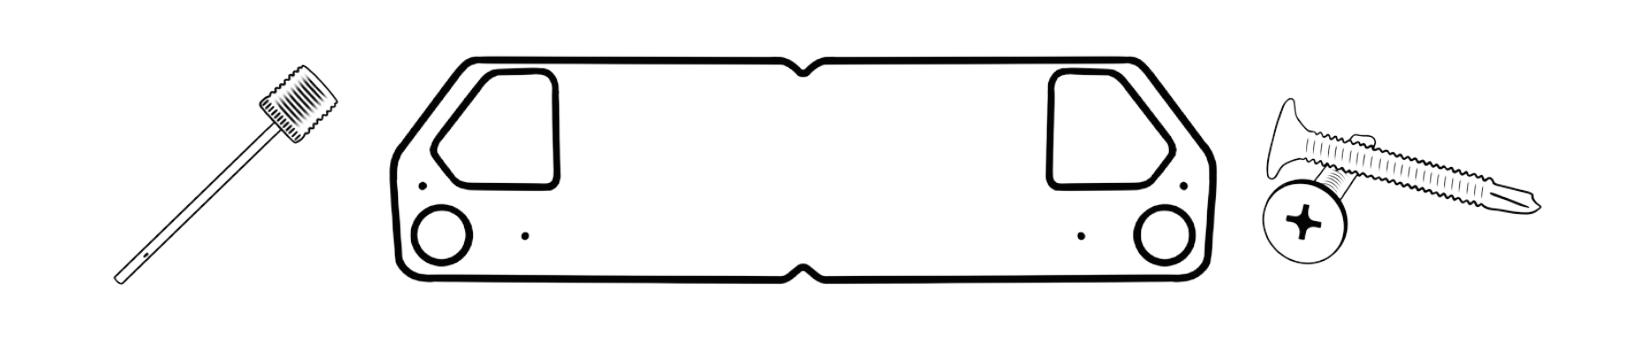
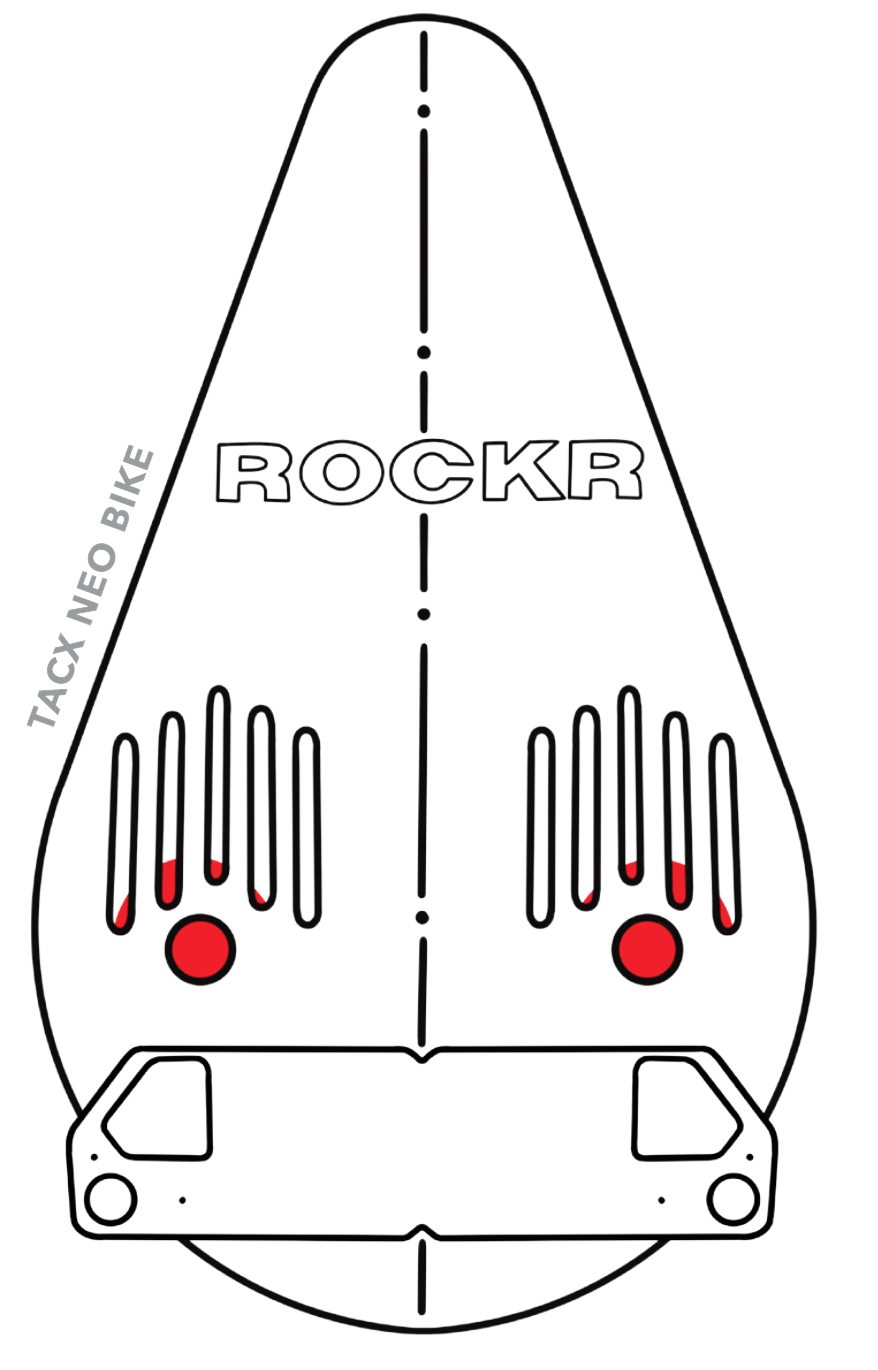
ROCKR board with two balls already inserted 1 extra 7” suspension ball (for rockr pro) 1 extra 5” suspension ball (for rockr axis) 1 needle fitting 1 smart plate (our proprietary design) 2 self tapping screws SMART BIKE SETUP:
1. Remove your ROCKR from its shipping box. 2. Open up your Parts Box that includes the following items:
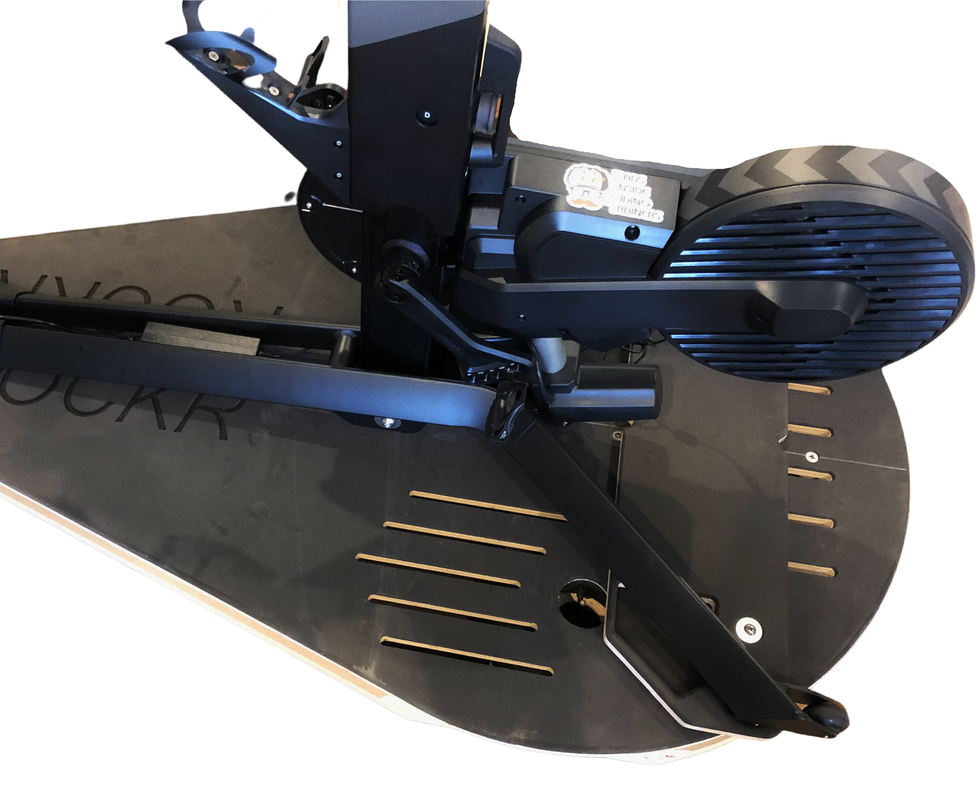
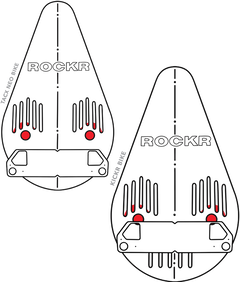
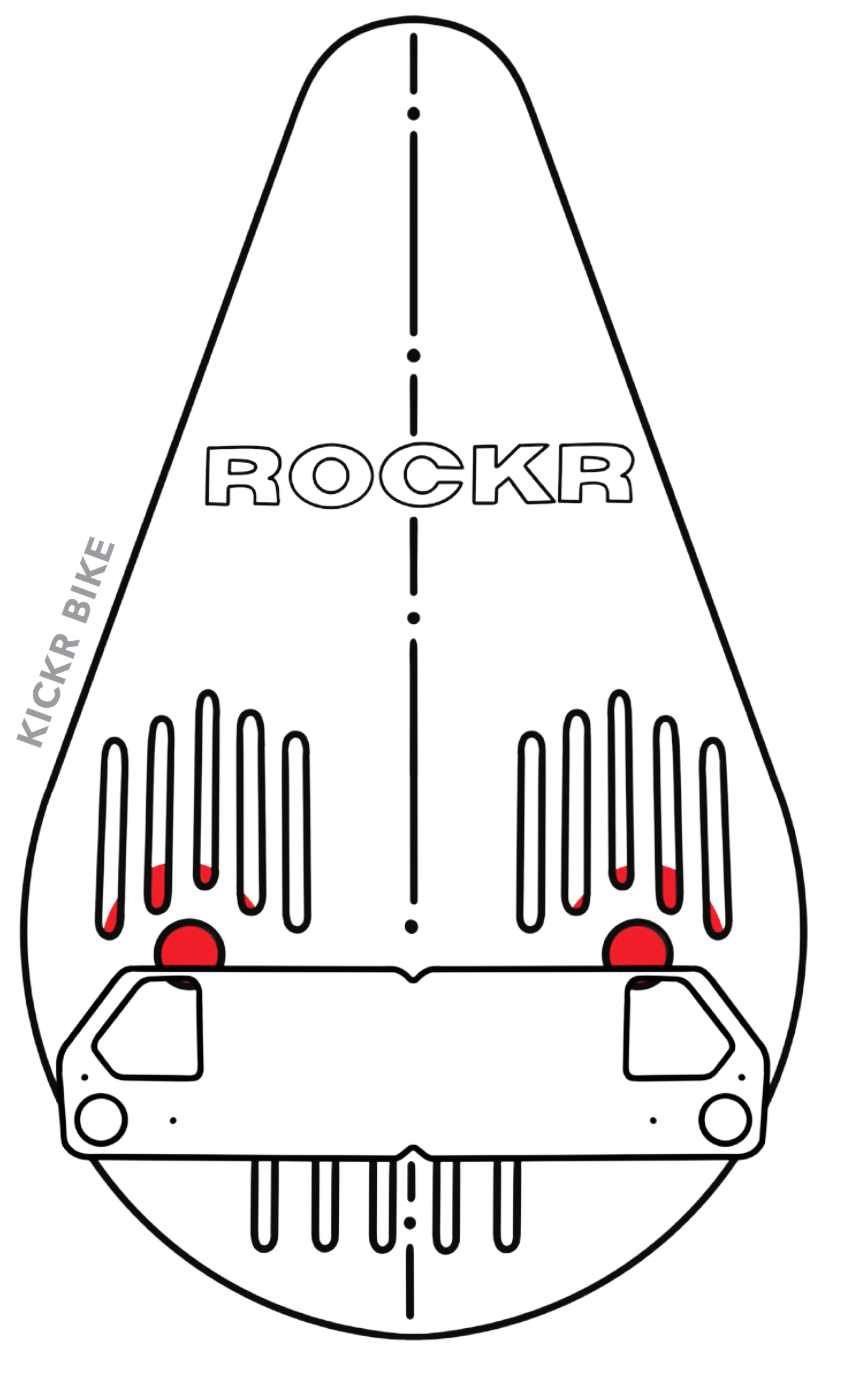
4. Next, put your Smart Bike on the ROCKR, placing the rear feet into the appropriate holes that are cut into the smart plate. Please refer to the diagram BELOW to see which position your Smart Plate should be placed depending on your trainer. 5. Line up the bike to be parallel to the centerline on the ROCKR. 6. We recommend getting on the bike to make sure you feel level and even before proceeding to Step 7. Move the bike and plate around as necessary until you feel level and even. 7. Use the (2) Self Tapping Screws to screw your smart plate into place. The screws can be used anywhere on the plate, there are NOT specific holes to use. 8. Air pressure should not exceed 4 psi and we recommend as little air as possible while providing comfort and stability. Over-inflation may cause balls to tear at the seam or the boards to warp 9. Enjoy your new ROCKR and tag @rockrindoortraining on Instagram when you post a photo! 
  |
